


Presented by

While major home repairs and installations are often best left to professionals, there are plenty of projects that can be tackled by anyone willing to learn.
Installing a new faucet is a straightforward process that should take less than an hour, so what are you waiting for?
Here’s a step-by-step guide to get you started…
- Do your “hole homework.” You won’t get very far with a new faucet if you don’t figure out how many holes your existing faucet has versus how many holes the new options have – as well as the distance between the holes. It doesn’t mean you need to choose a new faucet with exact the same hole placement, however, because there are handy little base plates and caps that can be used to disguise extras.
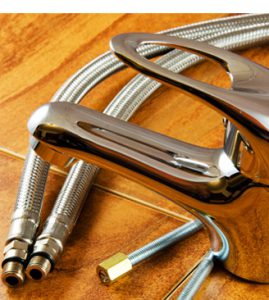
- Round up your supplies. Once you’ve picked out the perfect faucet for your kitchen, bathroom, or laundry room – and double-checked that the hole configuration is ok, it’s time to get down to business. Assemble all of your parts and be sure you have everything you need so you don’t need to run out halfway through the job.Check the fittings on the end of the faucet to make sure they’ll connect to your existing water line. Do you need any new o-rings or extensions for your P-tray set-up? If your home has older plumbing, you may want to upgrade to water lines with an auto leak shut-off valve. You’ll also want a portable lamp so you can see everything clearly under the sink.
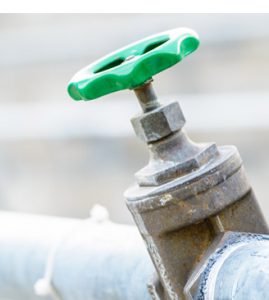
- Shut off the water using the wall valve(s). This is an important step to avoid getting wet during the installation.

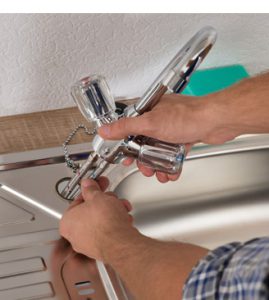
- Remove the old faucet and hardware. Once you’ve turned on the old faucet, remove the flexible extension, and drained any remaining water into a bucket, it’s time to remove the flexible line from the shut-off valve. Undo any nuts and washers under the sink so you can lift off the old faucet and set it aside.
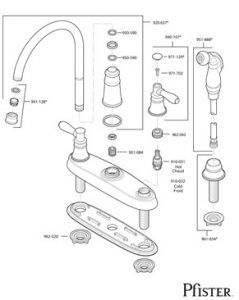
- Make friends with your manual. Now that the old faucet’s gone, you need to pay close attention to the manual for your specific faucet and its valves – since no two units are going to be exactly alike. Generally, you’ll be securing your spout to a gasket or plumber’s putty which connect to either your countertop or sink which is fastened below.

- Carefully turn the water back on. Once everything is tightened as per the instructions, it’s time to check your work! Turn the water valve back on slowly and see if anything is leaking. Run the new faucet for a few minutes, take a break for 10 minutes, and then run it again to check for leaks. That’s it – you’re done!
We hope you’re feeling excited to choose a new faucet and install it yourself – we’re certainly rooting for you. We’re always here to help if you have any questions.