


In a world with short attention spans and enthusiastic shopping for the next gotta-have-it item, it’s no wonder that furniture is considered disposable for many Canadians. But what if we told you that not only is it really easy to fix up your furniture – it’s also a great way to wind up with a home full of unique, custom pieces?
Whether you’ve got a banged-up coffee table, a set of end tables collecting dust in your basement, or a hutch that’s seen better days, here’s a primer on how to make it into something really special …
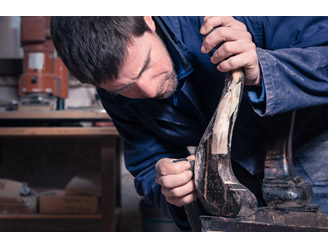
Prep the surface:
The age and condition of your furniture will determine what you need to do when you’re getting started. If it’s a very old painted piece, use a kit to determine if the paint contains lead. If it’s a lead-free piece and you’re planning on repainting with primer or paint mixed with bonding agent, a light sand to scuff up the existing paint, stain or polyurethane is probably all you’ll need. If you’re planning on staining the piece, you’ll want to sand all the way down to the wood so you have a nice clean slate. If you’re not sure what the piece requires, be sure to come in and chat with us.
prep surface
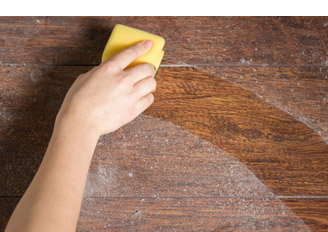
Sand and clean:
Sanding furniture can create a lot of dust and that’s not something you want gunking up your paint, stain or poly. After you’ve sanded your piece, wipe it down carefully to get rid of all of the dust. You can also use a tack cloth, which is sticky so it removes even the smallest specs of dirt and dust.
sanding
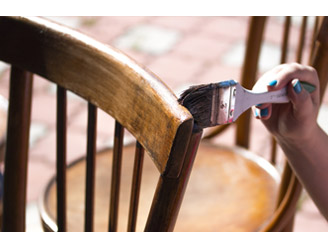
Grab your brush
When the surface is ready, it’s time for the fun part: paint or stain. Most varieties recommend several thin coats with drying time in between. Not every type of paint will dry to the same sheen, of course. Chalk paints have a modern matte finish but many homeowners love the high-gloss look of melamine-based paint. If the furniture has lots of nooks and crannies, use an angled brush to get into the tight areas and then a small roller to coat the smooth surfaces.
brush application
Protect the finish
When you’re satisfied with the painted or stained finish, it’s time to protect all of your hard work by sealing it in. Furniture can be exposed to lots of wear and tear and not just the pieces you’re sitting on or eating from – even a side table can get scuffed by a single tossed pair of keys. Talk to us about the best way to finish the piece, whether it’s a few coats of non-yellowing polyurethane or a special wax designed to complement chalk paint.
protect the finish
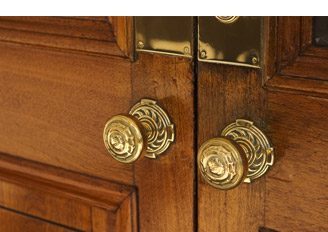
Add the finishing touch
Sometimes the existing hardware is fine for a revamped piece, especially if it’s very old or ornate. But if you’re dramatically changing the look of a piece of furniture, you might want to consider updating the hardware. Gleaming glass knobs, oil-rubbed bronze hinges or stainless steel pulls could be just what the piece needs as a finishing touch.
***
We hope you’re pumped to run down to the basement or up to the attic and see what’s ready for a makeover. Don’t forget about the treasures that can be found in thrift stores and online resale sites, too. A little paint, hardware and elbow grease is all it takes!