Knowing how to caulk your bathtub is crucial for preventing leaks and water damage, and the same goes for showers, sinks, and other fixtures. Caulking or re-caulking the seal around your bath can seem like a big task, but it’s easy with the right sealant.
Get more helpful bathroom caulking tips that will have your tub and sink looking like new from LePage:
We’ve all noticed those little dried water drips on a bathroom wall, and maybe even swiped at them with a towel. Why are the walls drippy? Why are there patchy spots? Well, painting a bathroom is different from painting any other room in a house because of one thing: moisture.
But there are ways to combat moisture and save your bathroom walls from streaks. Here at TIMBER MART, we want to be right there with you — standing in the tub fully clothed, trying not to glob paint onto your shower curtain rod.
With these tips, you’ll be painting your bathroom like a pro:
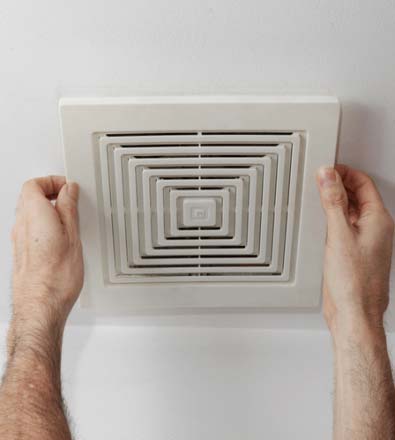
Check the ventilation
Don’t grab a paintbrush yet. It’s never a good idea to paint in a stuffy room (hello, fumes) but it’s also bad for the paint itself. If your bathroom doesn’t have proper ventilation, the humidity from every hot bath and shower gathers on the walls. Make a habit of letting your ceiling fan or exhaust fan run for an hour after every bath or shower to dry your walls — or open the window if you don’t have a fan — and your paint will hold up better in the long run.
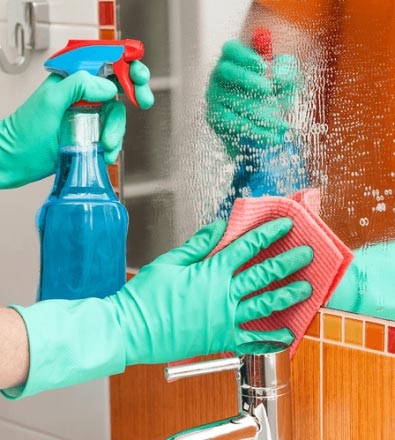
Clean the areas around the sink
Unless you have tile above your sink and around the mirror, the walls have probably been misted with cleaner and sprayed with water, mouthwash, toothpaste flecks, and maybe even the occasional blob of shaving cream. All of those little bits of moisture can make it hard for the new paint to adhere to the walls. Use a soft cloth and a bucket of warm water with a splash of detergent to gently wash the walls around the sinks and mirrors and let the walls dry thoroughly before you start painting.
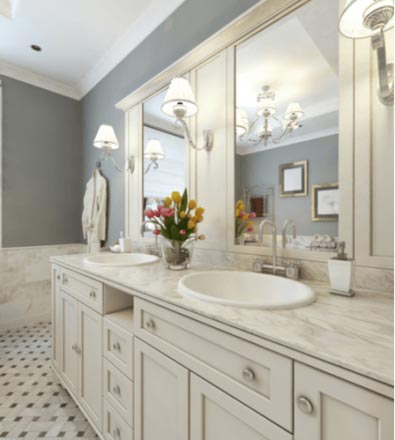
Pick your colour
Standard paint colours for bathrooms are light and bright, especially if there isn’t a lot of natural light, but you can choose anything you’d like. Steer clear of green shades if anyone will be applying makeup in there, because it will give you a sickly pallor when you look in the mirror. If you want to keep a small, dark bathroom from feeling too dim, ask the paint counter to mix your colour at 75 per cent strength.
Pick your finish
You might like the look of flat, matte walls everywhere else in your home, but the bathroom is a place where you should pick satin or semi-gloss. Flat paint lacks the scrubbability that you need to protect your walls from toothpaste spatter and water drips below the hand towel. Flat finishes are porous and they can actually trap the moisture in a bathroom, while a glossy finish helps the water to bead on the surface. You’ll need to pick a shade using PPG Kitchen & Bath Paint Semi-Gloss. It is specially formulated for use in high moisture and dirt prone areas – just like your bathroom. Not to mention, it includes antimicrobial properties!
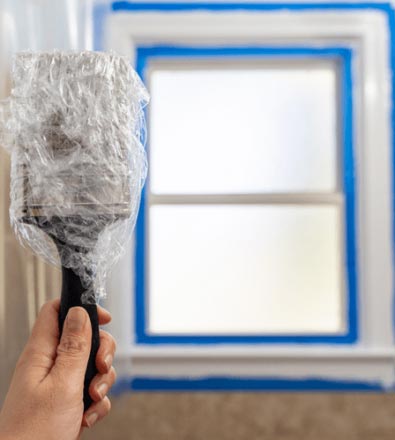
It’s time to paint
Bathrooms make for faster paint jobs because they’re so much smaller than bedrooms, living rooms, and kitchens. Tape around any trim or tile, use a two-inch angled brush to cut in around the edges, and then roll the walls. If you don’t finish the paint job, wrap your brushes and rollers in plastic wrap (or plastic bags) and refrigerate them until you can resume the project the next day.
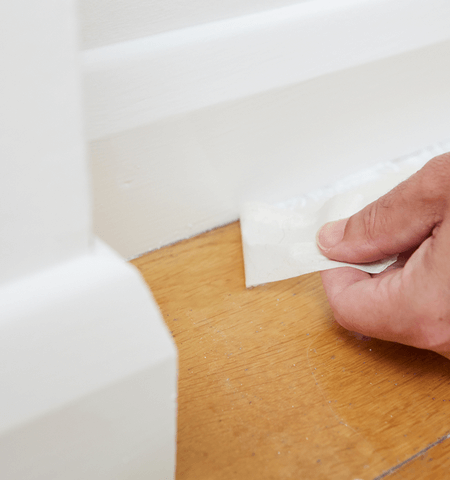
Protect your hard work
Once the final coat is on the walls, peel off your painter’s tape carefully while the paint is still wet. Let the walls cure for a full 24 hours before having a bath or shower and then make sure your shower curtain will prevent water from splashing onto your fresh paint job.
Maybe you’ve focused most of your DIY energy on your kitchen, living room, and the bedrooms. But bathrooms deserve time and attention, too. After all, you’re spending at least some time in there every day! 😉
From the walls to the tile and everything in between, here are five easy bathroom renovations you can tackle yourself over an hour, a day, or a weekend …
1. Prep & Paint the Walls
A fresh coat of paint is often the best bang for your decorating bucks, and bathrooms tend to be painted less frequently than other rooms in the home.
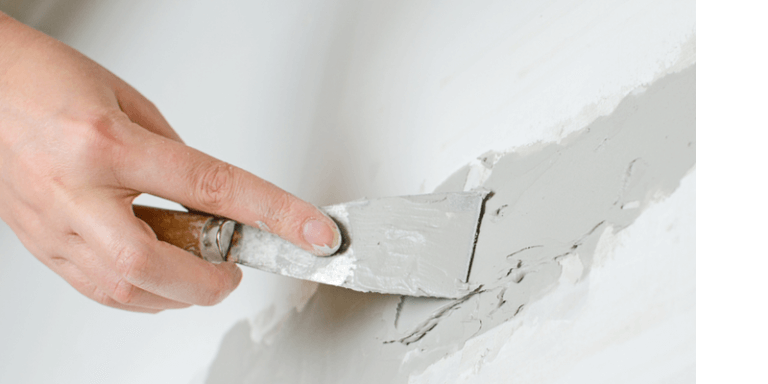
Have you been putting off a paint-job because your bathroom walls need a bit of TLC? Well,LePage® Polyfilla® Wall Paint Preparation is a ready-to-use, extra-fine patching compound that’s perfect for filling cracks, fixing holes, and repairing surface damage to interior walls.
Spread a bit of this creamy paste on the areas that need attention. It will dry quickly so you can sand it, and then the walls will be ready for a colour change. Think carefully about what’s going to look good with the fixtures you aren’t changing — tub, toilet, sink, taps, cabinets, hardware, flooring, lighting — and pick a shade you’ll love.
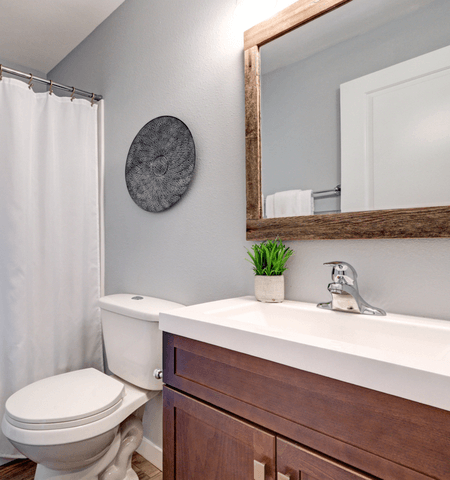
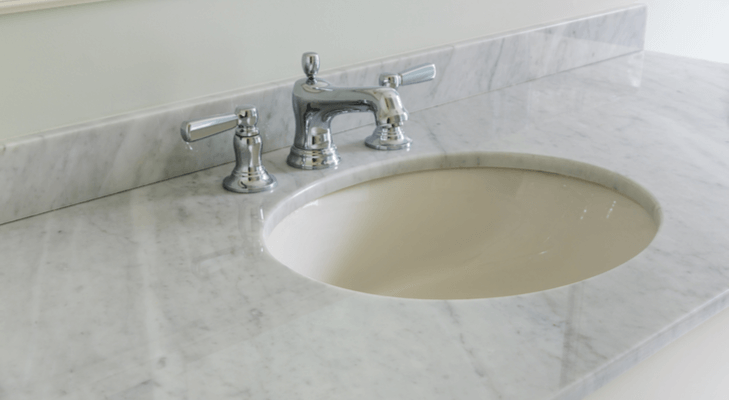
2. Replace your Counter
This sounds like a big job, but it can be done quite easily and affordably. Bathroom counters aren’t too large, typically, and you can order a ready-cut piece that will fit neatly into place.
You’ll need to use construction adhesive to secure the underside of the countertop to the top of your cabinets. LePage PL 620 Granite & Marble Construction Adhesive is a premium-quality adhesive formulated specifically for bonding materials like marble and granite. It’s low-odour with a low-VOC content, so you won’t need to be worried about ventilation in a small bathroom.
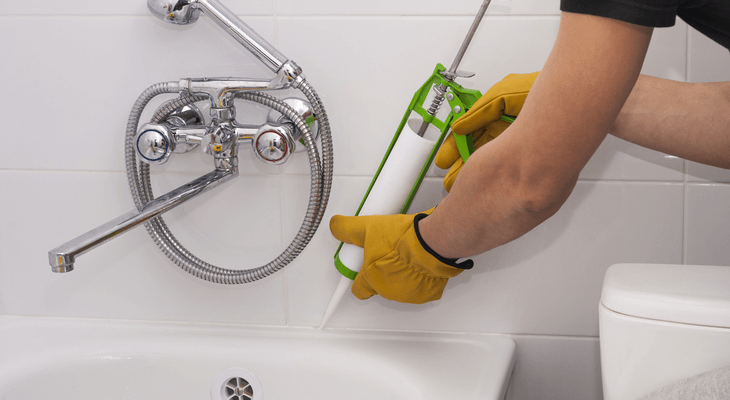
3. Redo your caulking
If the caulking around your sink, tub, or shower is starting to crack, yellow, or mould, it’s easy to repair it and make it look fresh again. With the right product, you don’t even need to remove the old stuff first!
LePage® RE-NEW is specifically designed to go over existing silicone beads in your kitchen or bath. Just run it over the old caulk and you’ll have a new, durable seal. It’s as easy as using a highlighter marker, but the results are crisp and professional. It’s water-ready in just six hours, so your shower isn’t out of commission for long.
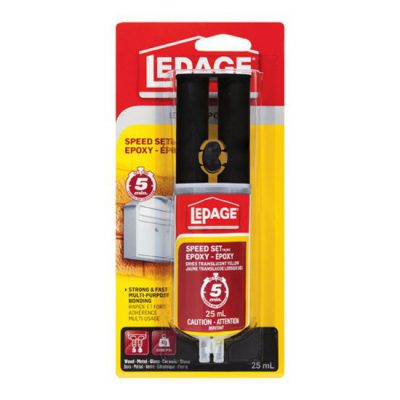
4. Repair Cracked Tiles
If you want to polish up your bathroom, take time to focus on the details — like repairing the tiles that have gotten chipped or cracked over the years. LePage Speed Set Epoxy is a two-part adhesive that delivers equal parts epoxy resin and hardener. Use it sparingly, and you’ll get a rigid, high-strength bond in about five minutes.
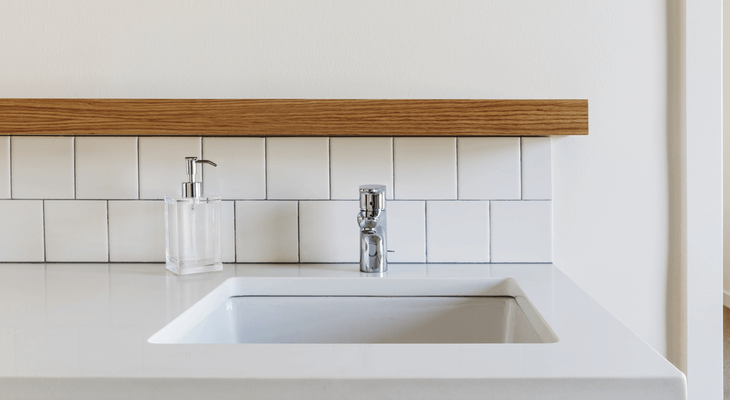
5. Add a Tiled Section
Tiled walls in bathrooms used to be purely functional: easily wipeable areas that could stand up to daily splashes and toothpaste flecks. But now many homeowners are choosing to tile bathroom walls simply because it looks great.
Subway tiles be may trending, but they’re also a classic look that’s been around since the early 1900s. Some homeowners are choosing to install them vertically for a different feel, while others are experimenting with extra-large and super-small variations of the traditional pattern.
No matter which tile you choose, be sure to pick up Polyfilla® Wall Tile Grout. It’s specially formulated to be water-repellent, so it’s perfect for bathrooms. There’s no mixing required — you use it straight from the tub or squeeze tube — and it’s stain-resistant so it stays a nice, bright white. Because it’s siliconized, you also get to skip the sealing step at the end of the job.
************
No matter what level of bathroom reno is on your to-do list, we want to do what we can to help you out! Stop by your local TIMBER MART to chat with us about your upcoming projects.