


Installing laminate flooring: A step-by-step guide

Gather Your Tools
For a successful laminate flooring installation, you’ll need a rubber mallet, a tape measure, a table saw for precise cuts (a mitre saw can also work for shorter cuts), and flexible silicone sealant. If your laminate flooring doesn’t come with an attached underlay, you might need to purchase a separate foam underlay.
Remove the shoe moulding
Use a small crowbar or chisel to carefully remove any shoe moulding. If you plan to reuse it after installing the laminate flooring, ensure you don’t damage it during removal.
Prepare the first plank
Start the installation along the most noticeable wall in the room. Laminate flooring uses a tongue-and-groove system, but the first row needs to sit flush against a straight wall. Use the table saw to remove the “tongue” from the planks that will be against the wall.
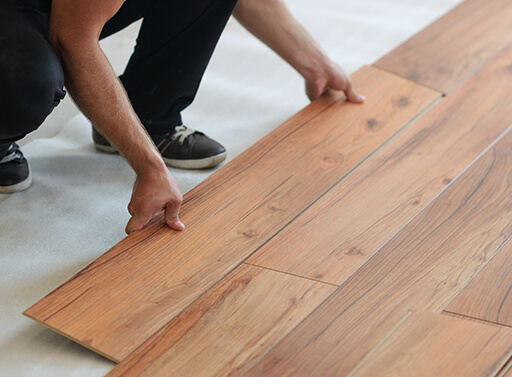
Assemble the first row
With the tongue side facing away from the wall, assemble your first row. Connect the planks by inserting the end tongue into the end groove. Cut the final plank as necessary for a perfect fit. Remember to use wooden spacers between the planks and the wall to allow for expansion.
Begin the second row
Ensure the joints are at least 12″ apart by cutting down the first plank of your second row. It should be at least 8″ long.
Get into the groove
At a slight angle, insert the tongue side of the second-row planks into the grooves of the first-row planks and rotate them down to lock them in place. Repeat this process across the floor, ensuring your joints are at least 12″ apart.
Install the final row
When you reach the end, you’ll likely need to trim your final plank to fit between the penultimate plank and the wall. Once cut, tap the joints closed and remove the wall spacers.
Fill the expansion space
Apply your flexible silicone sealant around the perimeter to fill the expansion space and prevent dirt accumulation.
Add moulding and transition strips.
Re-install the moulding you removed earlier or install new moulding. In areas where your new laminate flooring meets other flooring types, install transition strips for a seamless transition.
With a little concentration and perhaps a helping hand, you can easily install laminate flooring. If you have any questions, we’re always here to help. Visit your local TIMBER MART today to discuss laminate flooring!