Maybe you’ve focused most of your DIY energy on your kitchen, living room, and the bedrooms. But bathrooms deserve time and attention, too. After all, you’re spending at least some time in there every day! 😉
From the walls to the tile and everything in between, here are five easy bathroom renovations you can tackle yourself over an hour, a day, or a weekend …
1. Prep & Paint the Walls
A fresh coat of paint is often the best bang for your decorating bucks, and bathrooms tend to be painted less frequently than other rooms in the home.
Have you been putting off a paint-job because your bathroom walls need a bit of TLC? Well, LePage® Polyfilla® Wall Paint Preparation is a ready-to-use, extra-fine patching compound that’s perfect for filling cracks, fixing holes, and repairing surface damage to interior walls.
Spread a bit of this creamy paste on the areas that need attention. It will dry quickly so you can sand it, and then the walls will be ready for a colour change. Think carefully about what’s going to look good with the fixtures you aren’t changing — tub, toilet, sink, taps, cabinets, hardware, flooring, lighting — and pick a shade you’ll love.
2. Replace your Counter
This sounds like a big job, but it can be done quite easily and affordably. Bathroom counters aren’t too large, typically, and you can order a ready-cut piece that will fit neatly into place.
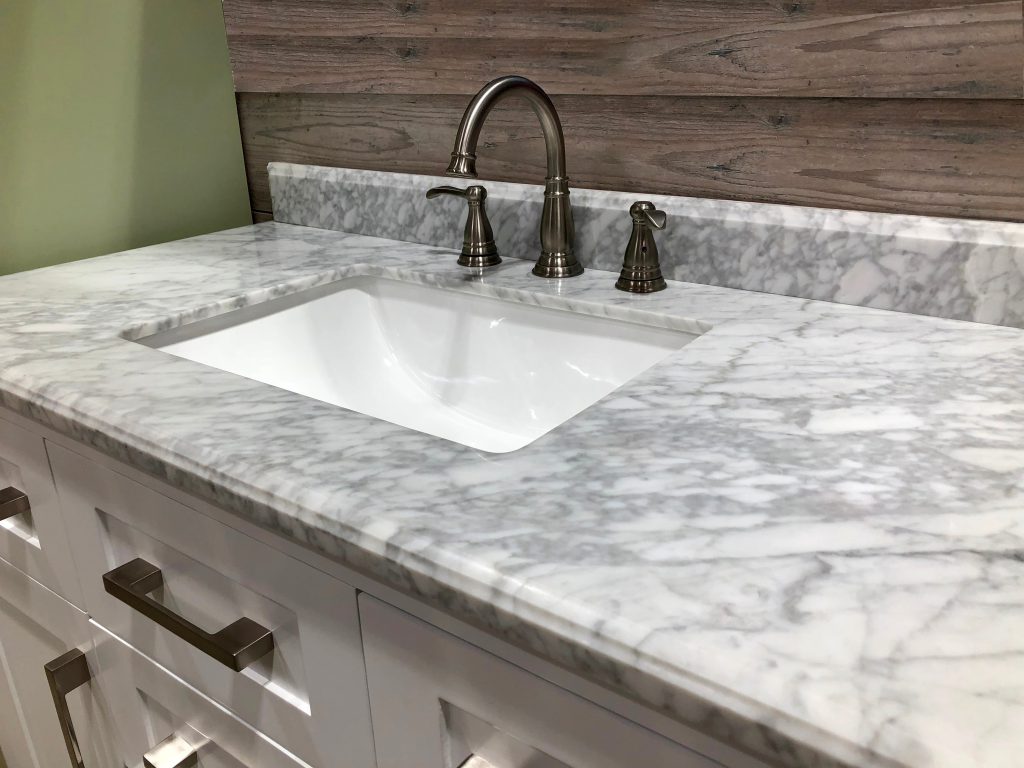
You’ll need to use construction adhesive to secure the underside of the countertop to the top of your cabinets. LePage PL 620 Granite & Marble Construction Adhesive is a premium-quality adhesive formulated specifically for bonding materials like marble and granite. It’s low-odour with a low-VOC content, so you won’t need to be worried about ventilation in a small bathroom.
3. Redo your caulking
If the caulking around your sink, tub, or shower is starting to crack, yellow, or mould, it’s easy to repair it and make it look fresh again. With the right product, you don’t even need to remove the old stuff first!
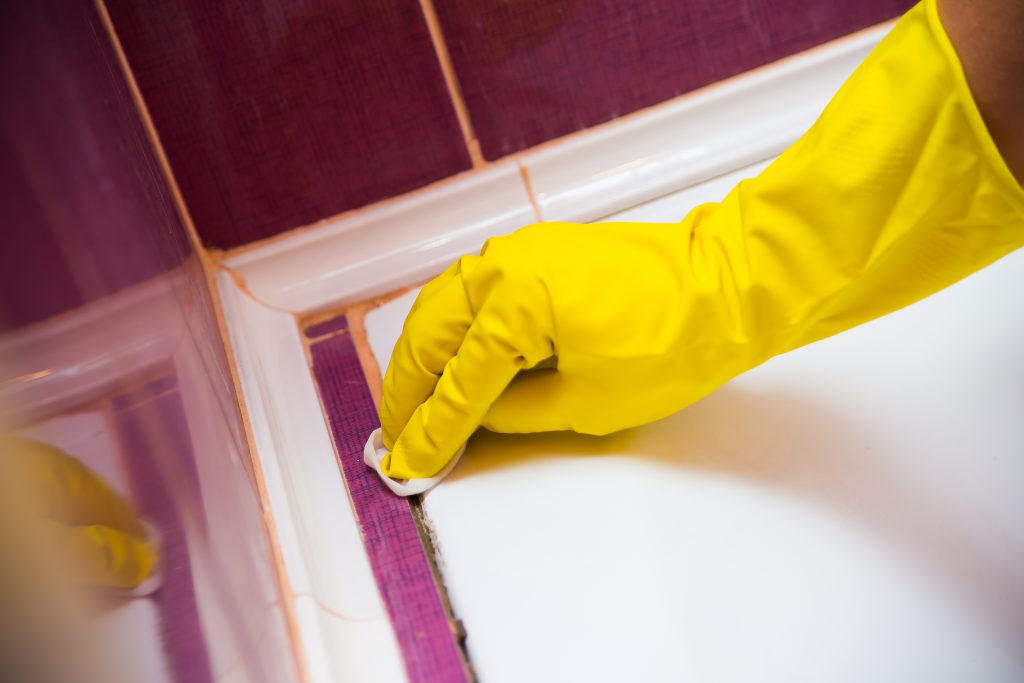
LePage® RE-NEW is specifically designed to go over existing silicone beads in your kitchen or bath. Just run it over the old caulk and you’ll have a new, durable seal. It’s as easy as using a highlighter marker, but the results are crisp and professional. It’s water-ready in just six hours, so your shower isn’t out of commission for long.
4. Repair Cracked Tiles
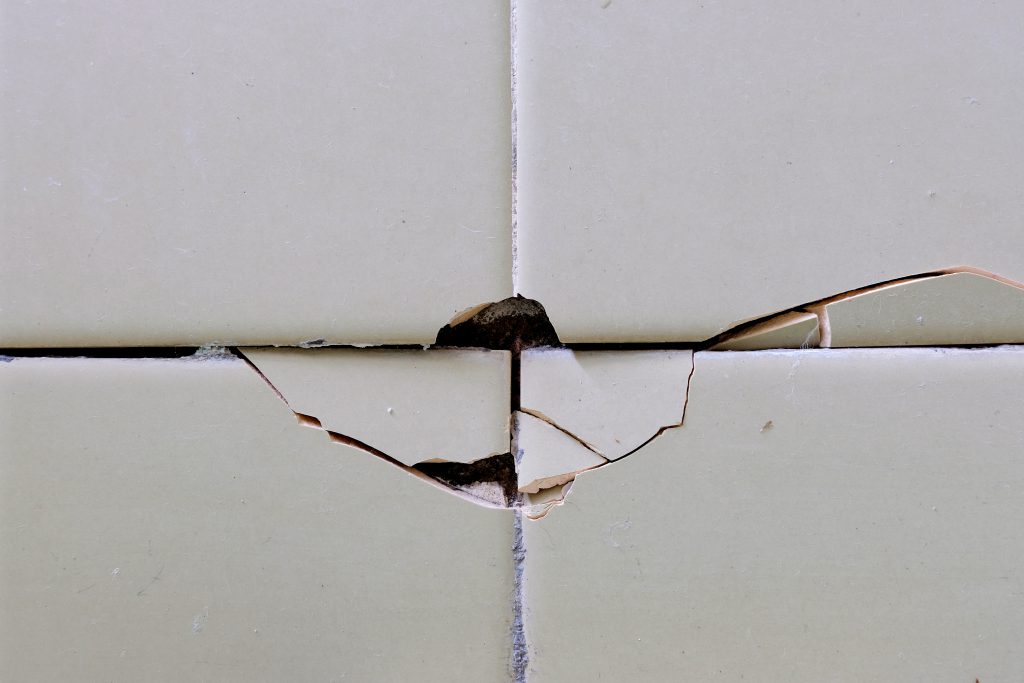
If you want to polish up your bathroom, take time to focus on the details — like repairing the tiles that have gotten chipped or cracked over the years. LePage Speed Set Epoxy is a two-part adhesive that delivers equal parts epoxy resin and hardener. Use it sparingly, and you’ll get a rigid, high-strength bond in about five minutes.
5. Add a Tiled Section
Tiled walls in bathrooms used to be purely functional: easily wipeable areas that could stand up to daily splashes and toothpaste flecks. But now many homeowners are choosing to tile bathroom walls simply because it looks great.
Subway tiles be may trending, but they’re also a classic look that’s been around since the early 1900s. Some homeowners are choosing to install them vertically for a different feel, while others are experimenting with extra-large and super-small variations of the traditional pattern.
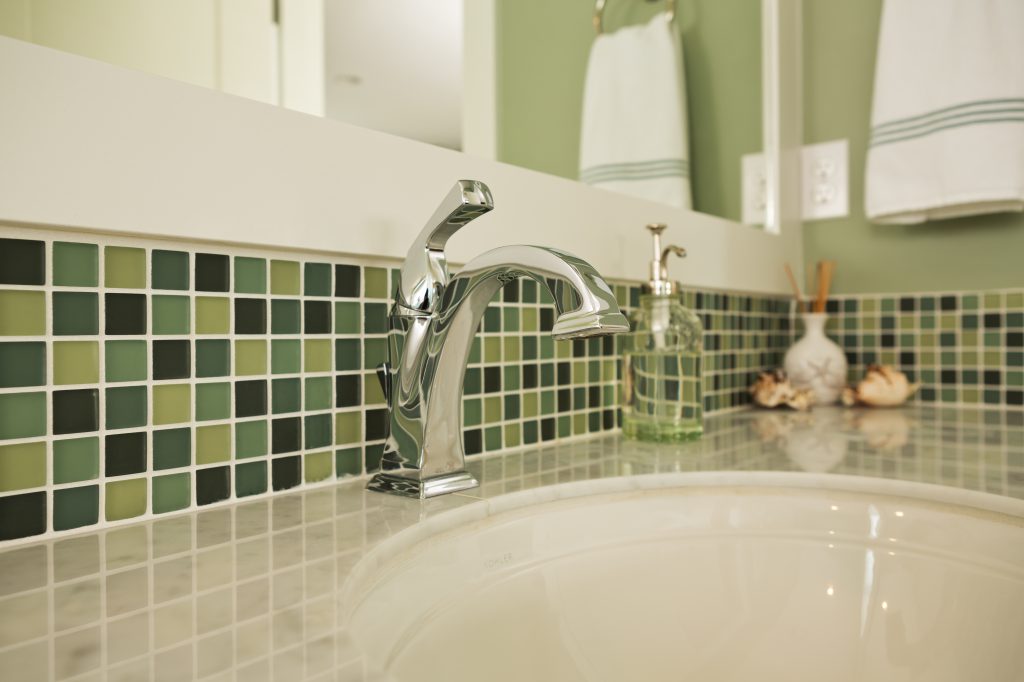
No matter which tile you choose, be sure to pick up Polyfilla® Wall Tile Grout. It’s specially formulated to be water-repellent, so it’s perfect for bathrooms. There’s no mixing required — you use it straight from the tub or squeeze tube — and it’s stain-resistant so it stays a nice, bright white. Because it’s siliconized, you also get to skip the sealing step at the end of the job.
************
No matter what level of bathroom reno is on your to-do list, we want to do what we can to help you out! Stop by your local TIMBER MART to chat with us about your upcoming projects.


