Skip to Content
Proud Sponsors of: cfl logo
Air Miles Logo
My Store: Hickey's TIMBER MART (Conception Bay South)
Today's Hours: 8am - 5pm
My Store: Hickey's TIMBER MART (Conception Bay South)
fr
In this issue:

How ROCKWOOL insulation can keep your home warm

Presented by

Insulation may be hidden away in the walls and floors of your home, but it’s working hard behind the scenes for you and your family. From the way your home feels to the health of the people living inside it, here are a few of the ways ROCKWOOL insulation can make your home cozier …

It regulates your home’s temperature

woman indoors with warm cup of tea

COMFORTBATT® is designed to improve a home’s energy efficiency and lower your heating and cooling costs. The products are available in a range of thicknesses (from 2.5” to 8”) and have standard R-values ranging from R10 to R32, so your home maintains its ideal temperature more comfortably.

BONUS: It can earn you valuable rebates! ROCKWOOL products can be used as a contribution to obtaining LEED certification in homes! Check with the Canadian Green Building Council to find out how you can prepare your home for the LEED Canada for Homes certification.

It’s certified for indoor air quality

COMFORTBATT® contributes to a healthier indoor environment and the product is proudly GREENGUARD Gold Certified. This means it passed strict criteria to ensure it was acceptable for use in schools and healthcare facilities and was safe to use around sensitive individuals like children and the elderly.

It’s denser for a snugglier fit

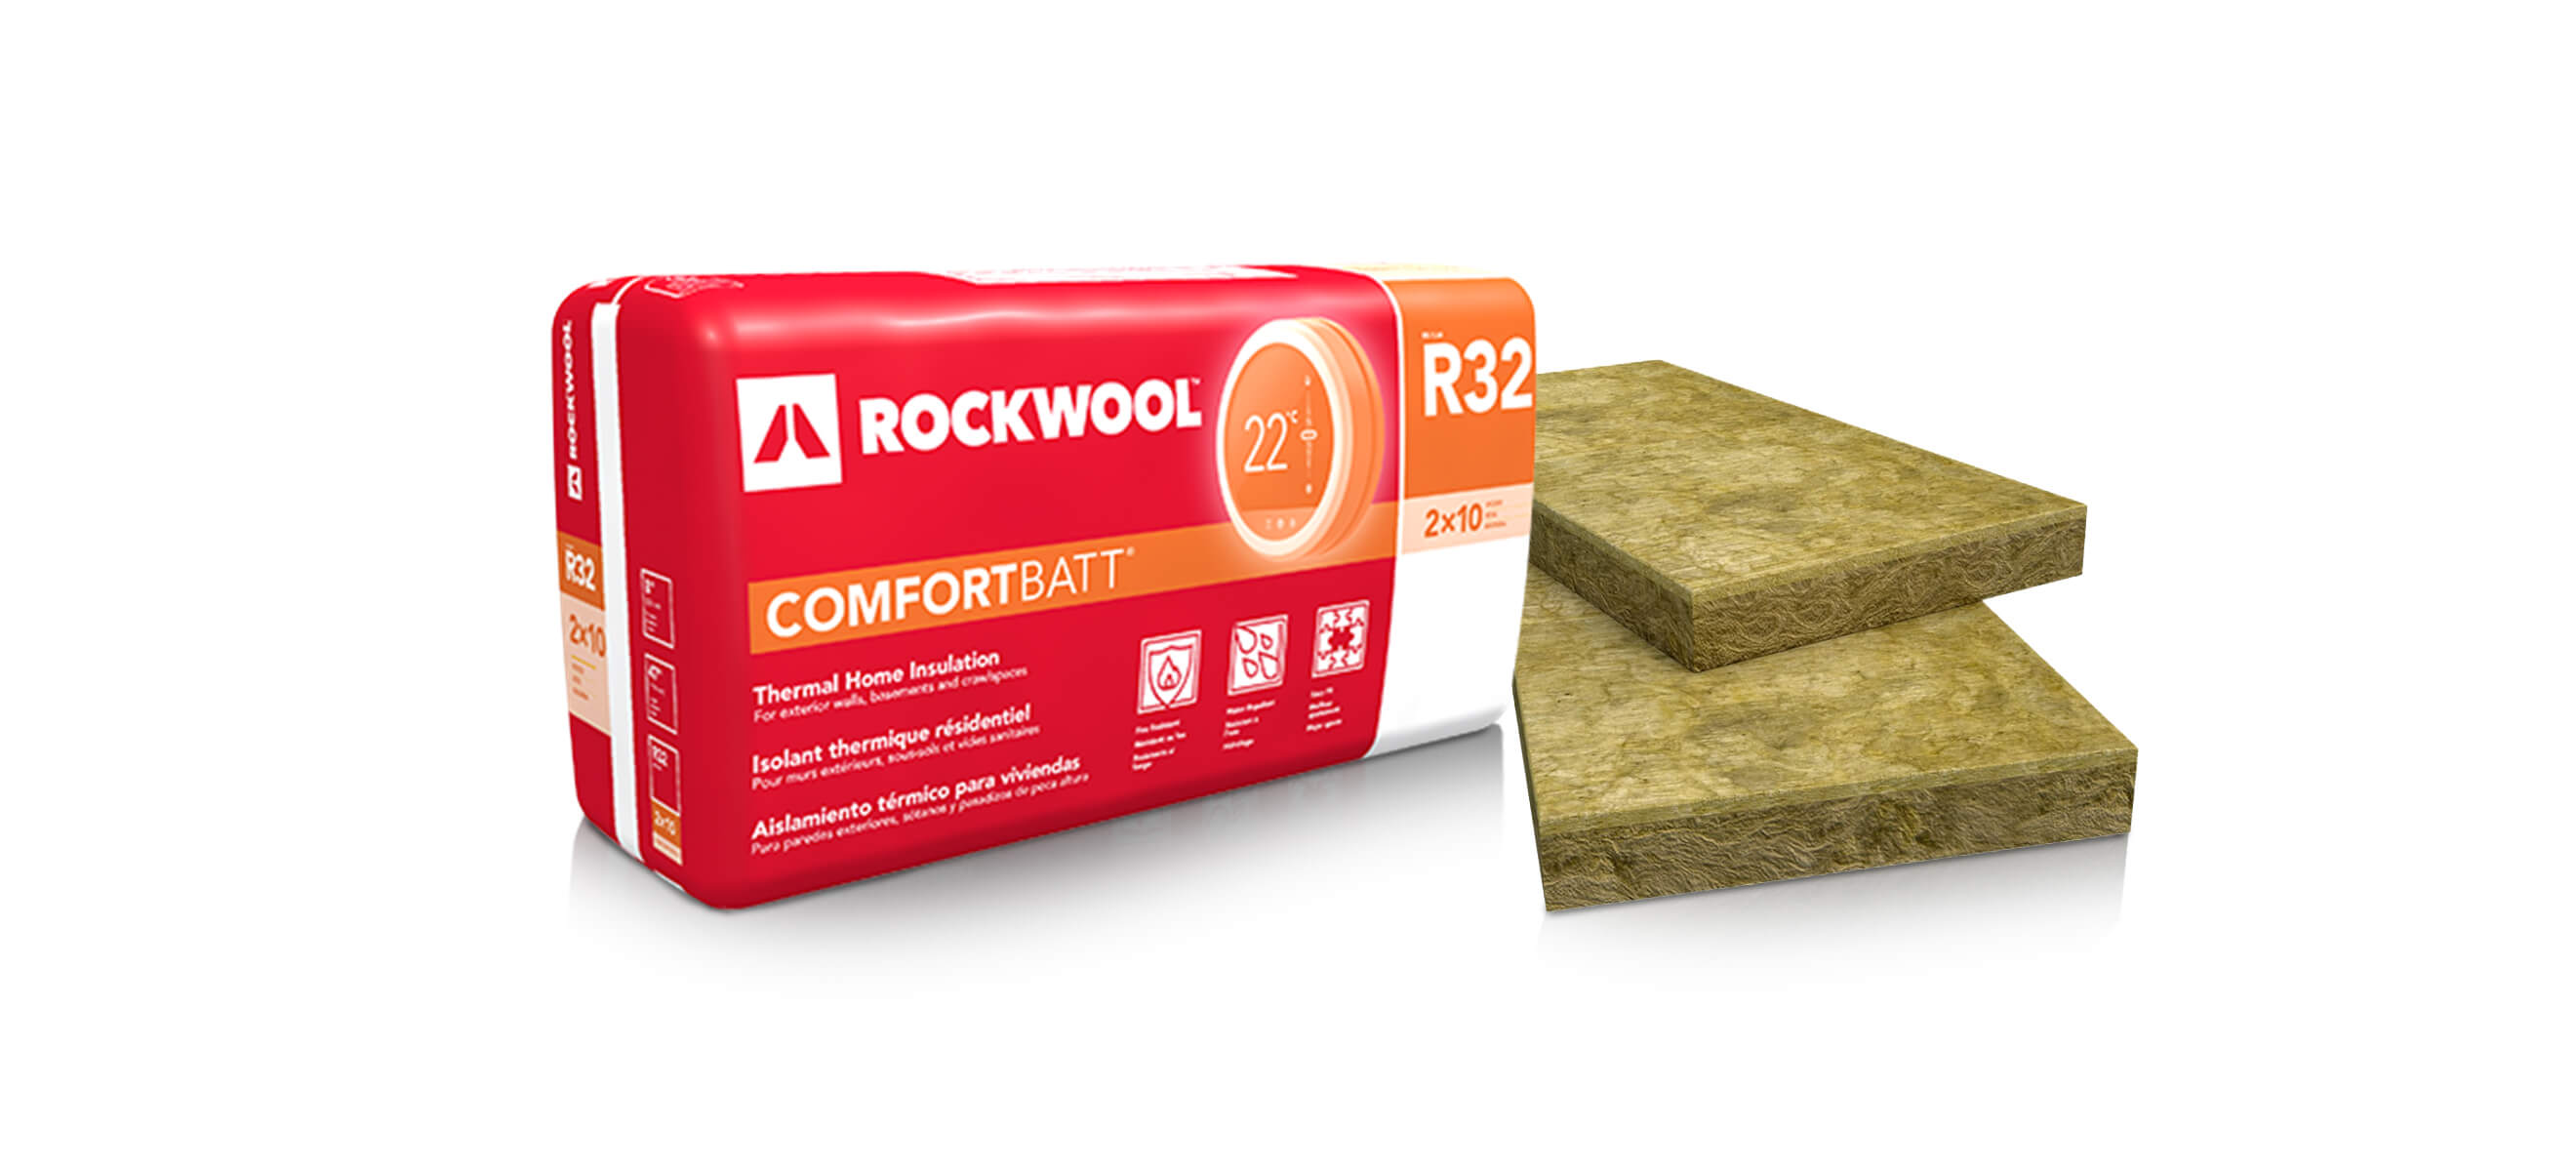
Nobody wants weak insulation that’s flopping around in their walls, barely touching the walls it’s supposed to be insulating. Luckily, ROCKWOOL batts are an average of three times denser than fiberglass batts, so they provide a better fit.

COMFORTBATT® has a unique flexible edge designed to compress as it’s inserted into walls, attics, ceilings and floor frames — and then it springs back, expanding against the frame studs to give a complete fill.

It could protect your family in a fire

Insulation isn’t just about maintaining your home’s temperature and lowering your energy bills — it can literally save lives.

ROCKWOOL batt products are made to fit inside wall or ceiling cavities and are friction fit into place. They contain thermal, acoustic, and fire protection properties, and their fire protection comes from their unique material.

Stone wool (sometimes called mineral wool) was discovered in Hawaii more than 100 years ago. It’s a natural byproduct of volcanic activity, so ROCKWOOL stone wool can withstand temperatures up to 2150º F (1177º C). As an added bonus, it doesn’t contribute to the development and spread of fire or the release of toxic gases.

(Oh, and don’t worry about the folks at ROCKWOOL running out of this cool stuff. Stone wool is basically inexhaustible as the earth makes 38,000 times more rock every year (through volcanic and oceanic activity) than the company uses.)

*******

Questions about insulation, or how to install ROCKWOOL products? Please be sure to ask us in-store, and we’d be glad to help.

DIY farmhouse table

Presented by

What’s even better than sitting down to a home-cooked dinner with your loved ones? Enjoying that hot food on a gorgeous farmhouse table you’ve built yourself!

Ready to get started?

Here’s your shopping list:

  1. (2) 2×10 144” board
  2. (1) 2×4 120” board
  3. (2) 4×4 96” board
  4. (1) 1×4 72” board
  5. 2 1/2” wood screws
  6. 2 1/2” jig screws

Here’s your cut list:

  1. (4) leg base, 2x4x30″
  2. (2) leg support, 4x4x24 3/4″
  3. (8) X supports, 4x4x18 1/8″
  4. (4) tabletop boards, 2x10x72″

Step 1: Now it’s time to assemble your tools.

There’s a reason why a sliding compound mitre saw is usually the first saw a DIYer adds to their arsenal. It’s a powerhouse tool that you can use it to cut so many different types and sizes of wood.

Makita Compound Saw.

We love Makita’s 10” Sliding Compound Mitre Saw for projects like this. It has a soft-start feature to eliminate start-up shock — helping your movements remain calm and smooth — and its electric brake motor stops the blade quickly once it’s released, making it safer for beginner woodworkers.

Makita Table Saw.

To make this farmhouse table, you’ll use your mitre saw to cut pieces for the legs bases, leg supports, and the “X” supports (which give it that farmhouse flair we all love). You’ll use a table saw to rip the tabletop boards down to the proper width.

Step 2: Get started by assembling the legs of your farmhouse table.

You’ll use wood glue and 2 1/2” wood screws to attach the 2x4s to the 4x4s. This will form two “Ts” where the 4x4s run vertically and the 2x4s run horizontally.

Next up, you’ll attach the “X” supports, which will give your table that signature farmhouse style. Each X support will have a 47-degree angle on one end (which will rest against your 2x4s) and a 43-degree angle on the other end (which will rest against your 4x4s). Use wood glue and countersunk wood screws.

Cutting angles is easy with a mitre saw. Just be sure to measure twice and cut once, especially if you’re new to angles. Remember that the longest side of these pieces should measure 18 1/8”.

Attach your table’s feet to your leg bases using some wood glue and a few finish nails. This part is optional, but it will give your table a nice “finished” look.

While a farmhouse table might look like it’s been made from one huge slab of wood, most are actually smaller boards secured together. Use your table saw to rip the 2×10 boards down to 8” widths. (Pro tip: It looks best if you cut away both sides of the board to remove those fresh-from-the-lumber-yard rounded edges.)

Assemble the tabletop using pocket holes and pocket hole screws on three of the boards, and be sure to space them evenly so it looks clean. Then all that’s left is to attach your tabletop to your base with screws — or, if you want your table to be easy to take apart (in the event of a move), use threaded inserts and bolts.

To make sure your table stays sturdy during even the rowdiest family dinners, add a center support beam that runs between the two legs. If you want a more industrial look, try using a metal pipe (secured with flanges) instead.

Plug any holes with wood filler, give the whole thing a good sanding, and then you’re free to stain or paint your farmhouse table. Seal it with a satin-finish polyurethane to protect it from stains and spills, and you’re ready to make memories around your beautiful, hand-built farmhouse table. Nice work!

How to paint your unpainted fireplace

Presented by

While rustic natural brick is a design favorite for many homeowners, others cringe at the sight of a crumbling, orangey-red fireplace. Luckily, if you prefer the look of clean, painted brick, it’s easy to do yourself in a single afternoon — with a single can of paint and a few tools.

Start by using a wire brush to clean any debris from the bricks and mortar. Fireplaces hide a ton of dust, so this job may be dirtier than you expect.

Use an industrial vacuum to clean up the mess. You want the surface of the fireplace to be as clean as possible before you start painting, or the paint won’t adhere properly.

paint cans

Now it’s time to attack that fireplace with paint! We love Manor Hall 100% Interior Paint and Primer in One or Sico Evolution in either Eggshell or Semi-Gloss sheen.

The built-in primer means you’re only buying one product, instead of purchasing paint and primer separately. It’s a low-VOC, low-odor paint so it’s great, and it provides a flexible coating that resists cracking, peeling and flaking.

Now that you know what paint/primer to buy, what color should you choose? Well, white is the most popular color for a painted fireplace. But we’ve seen gorgeous painted fireplaces done in grey, cream, black, and even bold tones like teal and navy blue.

Are you brave enough for something shocking, or do you want your bricks to be a bit more subdued? Consider your mantle, the decor of the room, and potential resale value. While you may love the idea of a deep plum fireplace, you may want to go with something more neutral if you’ll be selling down the road.

Once you’ve tinted your paint and brought it home, lay down your floor protection and put on your grubby painting clothes. It’s time to transform your fireplace!

Use a stiff 1” brush to start painting the cracks and crevices between the bricks, and then switch to a small roller to cover the surface of the bricks. We recommend a 15 mL to 20 mL roller. Don’t be shy about doing a nice thick coat, because the fireplace is going to soak it up.

Let your first coat dry, and then do a second coat to touch up any areas that need it. When everything is covered evenly, wash out your brushes and pat yourself on the back.

You’ve modernized your fireplace with a single can of paint, and we bet it’s never looked better!