


It takes a bit of practice to get really good at hanging drywall and finishing it to achieve smooth walls, but it’s certainly something you can learn on your own — as long as you have the right tools.
Ready to take those bare wooden studs to real walls? Let’s dive into the various levels of finishing walls, and the best way to achieve each level …
LEVEL 0:
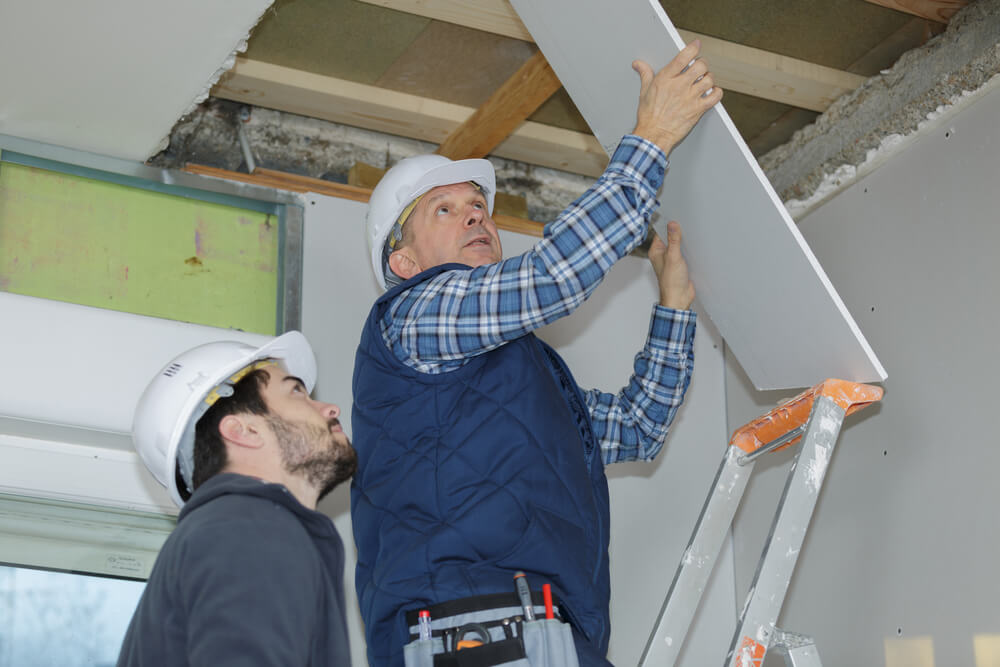
This is the stage where you’ve fastened drywall to your walls or ceiling, but not gone any further. You see this sometimes a sort-of-finished basement laundry room. It’s not pretty to look at, but we suppose it’s better than bare studs.
LEVEL 1:
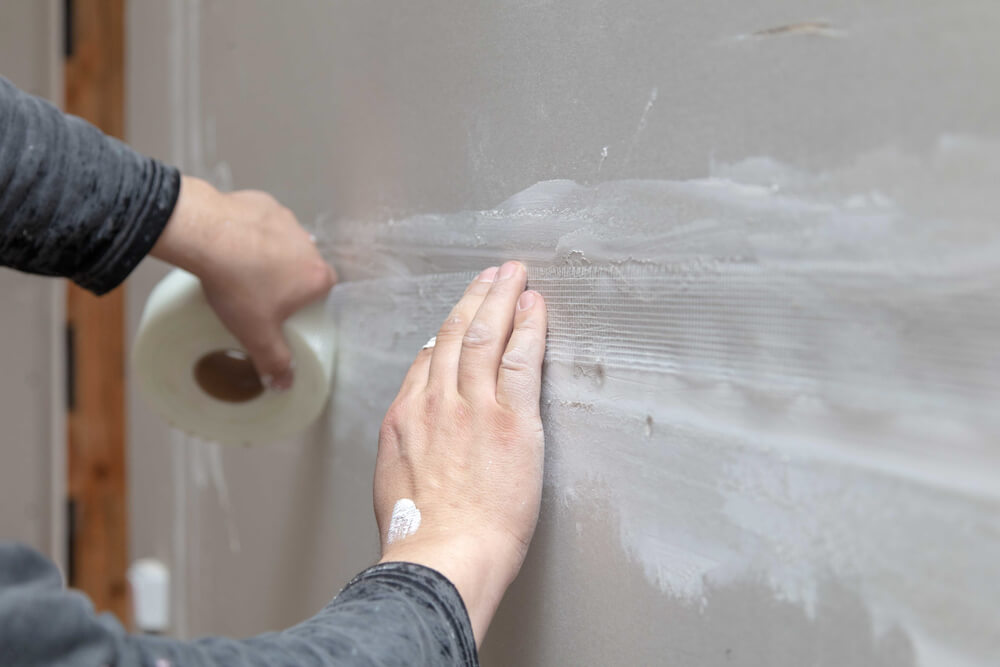
This stage is simply joint tape over drywall. Some homeowners will leave their garage this way — if they don’t really care about how the walls look — but for most of us, it’s just a step towards finished walls.
Joint tape is what seals up the cracks between sheets of drywall. We recommend using Sheetrock® Brand Mould-Resistant Fiberglass Drywall Tape, which is self-adhesive, so it makes it much easier — and faster — to finish your joints. It also gives your walls increased moisture and mould protection.
When you need to tape off 90° corners, angled corners, and inside angles of bay windows, you’re going to want something with a little more flexibility to get the job done. For this, we suggest a product like Strait-Flex® Medium Drywall Inside Corner Flex Tape.
If your space has a curved wall or arched doorway, you’ll want a product that’s designed to curve. Nothing ruins an elegant architectural curve like a random flat patch. Try Strait-Flex® Arch-Stick Outside 90° Arched Corner Bead for those tricky free-form drywall applications.
LEVEL 2:
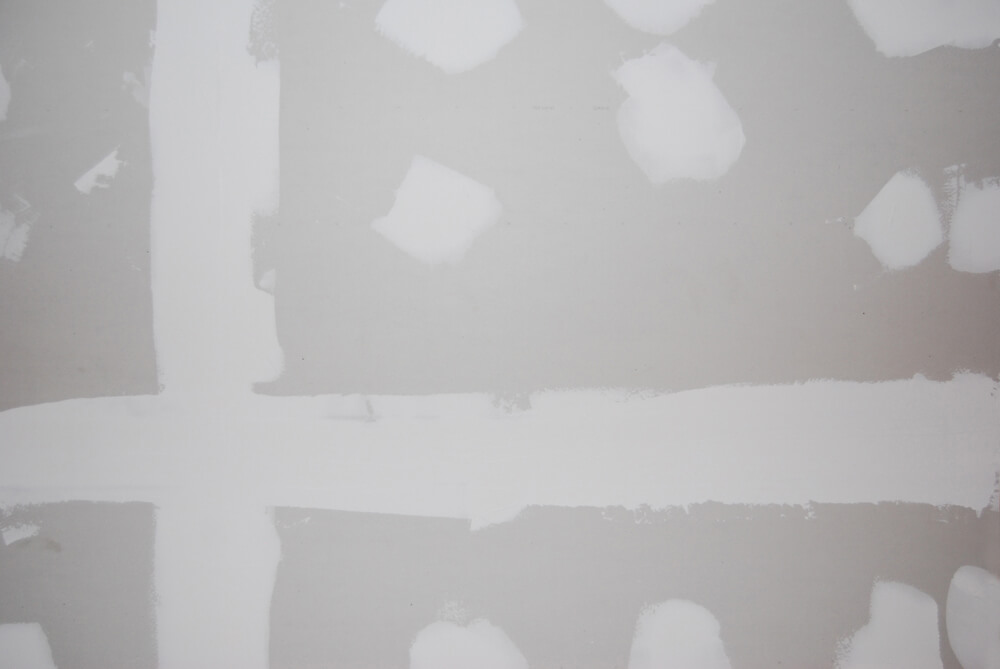
Once your drywall is taped, it’s time to get your hands dirty and really watch those walls come to life. You’ll be skimming a thin coat of joint compound — we like CGC Sheetrock®/Synko® Drywall Compound[ — over the tape. You’ll also use small amounts of the compound to cover any screw heads in the drywall.
If you plan to tile these walls, this is where you’ll finish up. If you’re going to be hanging cabinets on these walls, don’t bother going further than this on any areas that will get covered up anyway. Adding classic wainscoting to the lower half of the walls? Definitely stop here — it’s just going to get covered up.
LEVEL 3:
Apply more joint compound over the tape and screw heads. Patience, patience! A perfect drywall finish is all about carefully layering the right materials and smoothing them out. Wait for the compound to dry and use a trowel to knock off the high spots.
LEVEL 4:
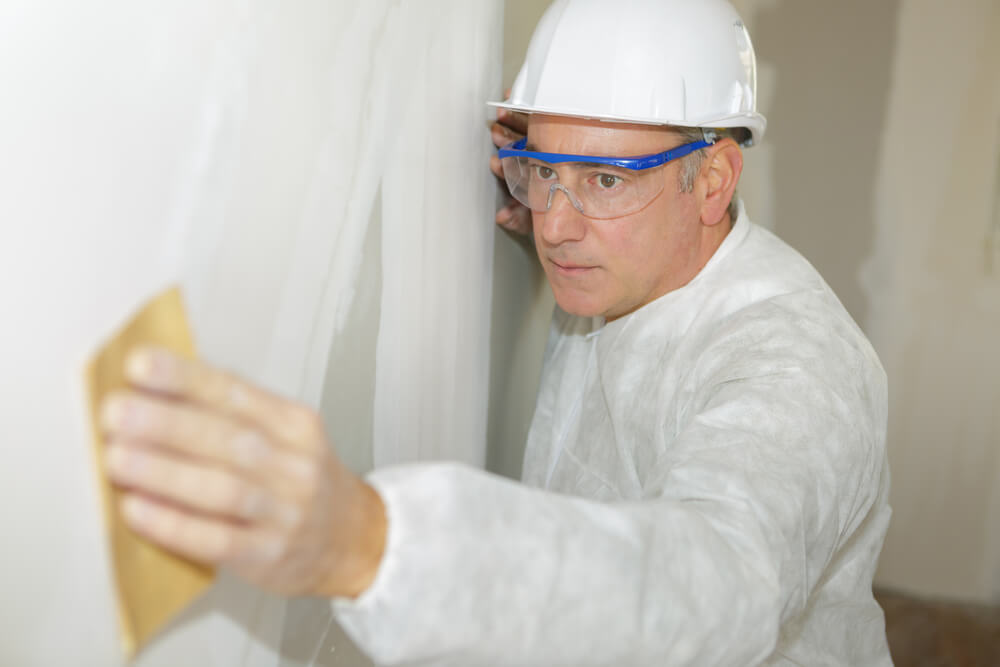
You guessed it — one more coat of joint compound on the tape and screw heads. This time, you’ll wait for it to dry and sand the walls down. Be careful not to sand the paper surface, only sand the compound down. When you’re finished sanding, this is considered to be the basic “finished” stage for drywall.
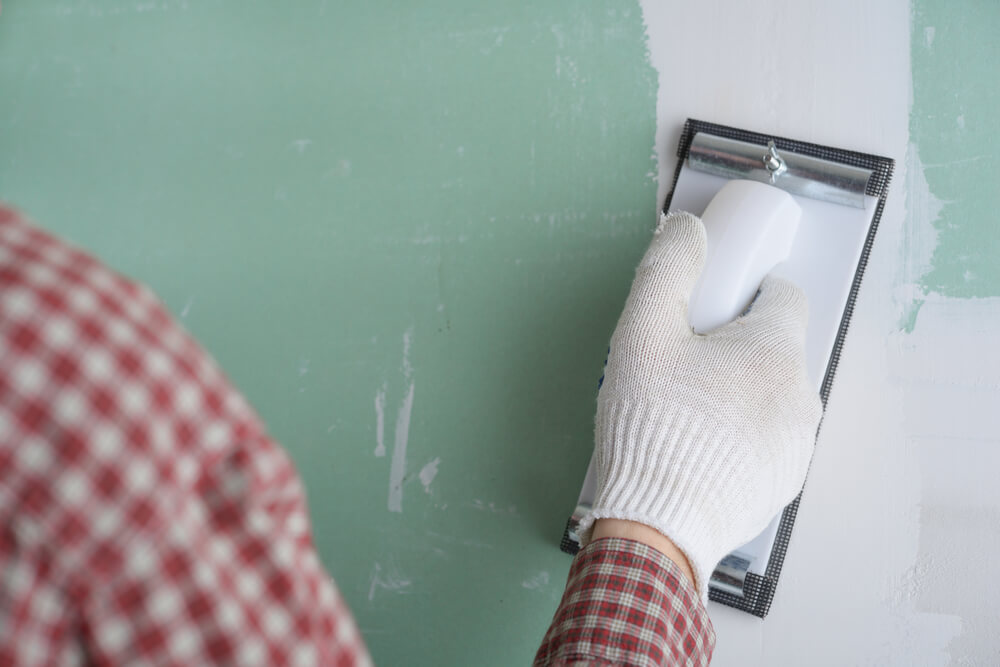
LEVEL 5:
Now, not everyone needs to continue on to do a premium Level 5 finish on their walls. If you plan on painting the walls with glossy paint, or the lighting in the room hits the walls at an angle that will highlight any minor flaws, you should opt to go this route.
Ceilings, however, are often taken to a Level 5 finish. Ceilings are highlighted by natural light from windows as well as lights and ambient lamps, so any lumps and bumps are going to be very noticeable. In fact, that’s why textured ceilings and popcorn ceilings became so popular decades ago — it was easier to create a consistent texture than it was to get a smooth flat surface.
So, if you want walls or ceilings that are as perfect as they can possibly be, you can apply what’s called a “skim coat.” There are a couple of different ways to do this.
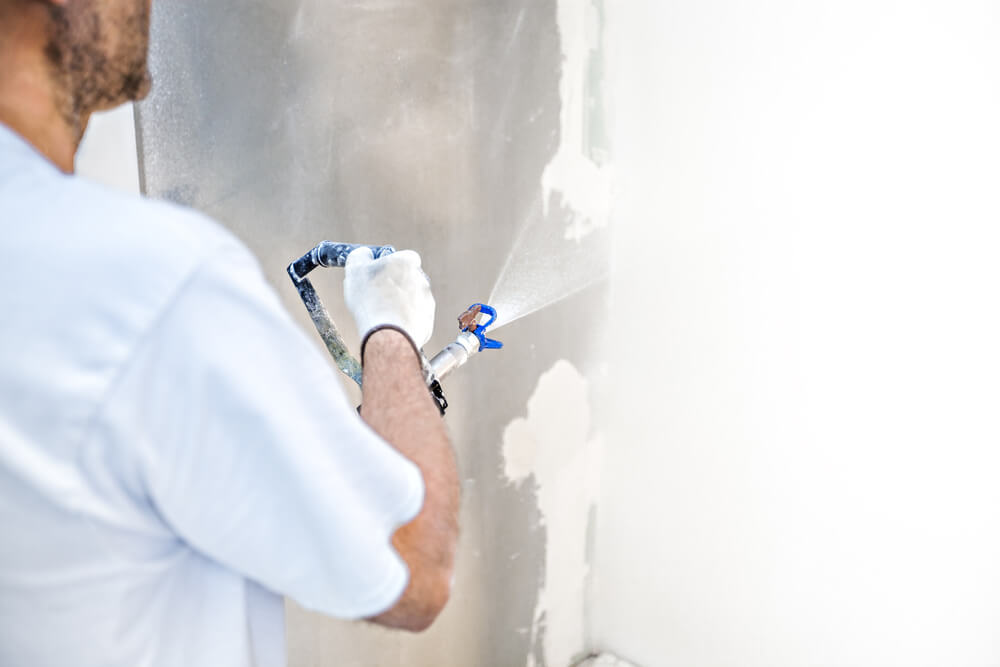
Using a trowel, apply a very thin coat of joint compound over the entire surface of the wall. Think of this as squeegeeing compound and leaving a film of compound completely covering the paper. Professional drywallers will often use spray equipment for a flawless skim coat.
Painting and Decorating:
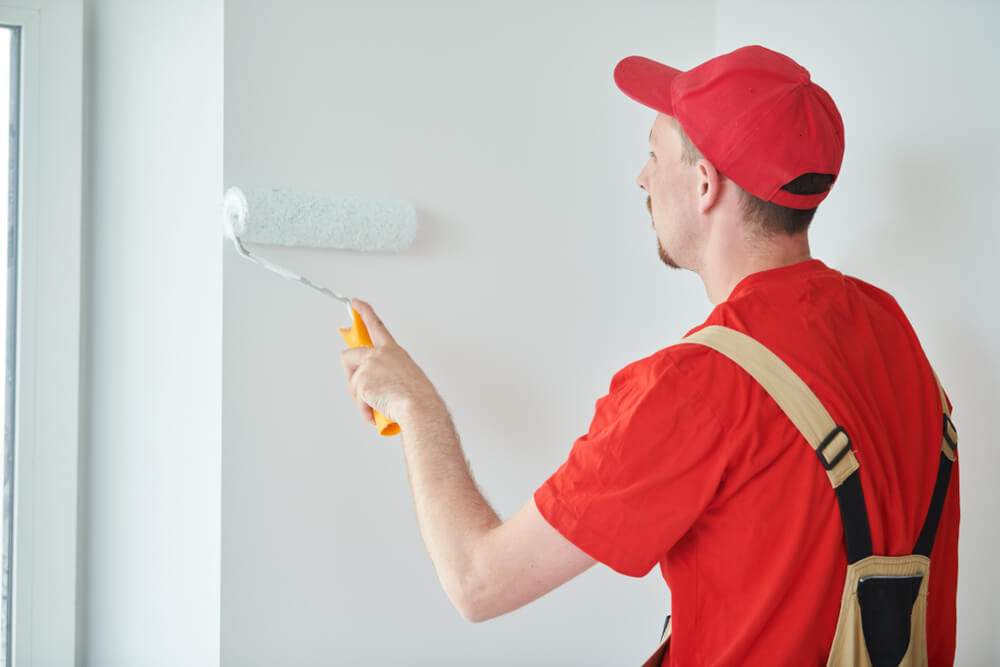
Once you’re satisfied with your drywall finish, it’s time to prime. You definitely can’t rush straight to paint because you will not be happy with the results. Drywall sucks up paint like a thirsty wall monster! It needs to be primed first.
Dry wipe your walls well to remove any remaining bits of drywall dust and use a premium quality latex primer/sealer on your new drywall.
***
Once you’ve rolled on the final coat of paint and stood back to admire it, it’s pretty amazing to look at your walls and ceilings and know that you made them with your own two hands.
We’re always here to help, so be sure to include us on your drywall adventure. Questions about taping, mudding, or skim coats? Not sure which products to buy? Drop by your local TIMBER MART and we’ll chat.