


Whether your home didn’t come with a kitchen island or you’ve just been relying on a dinky rolling-cart type of island to provide extra counter space, why not try making your own?
With a bit of planning and some basic materials, you can transform the look and function of your kitchen in a single weekend.
Here’s what you need to know about building your own kitchen island …
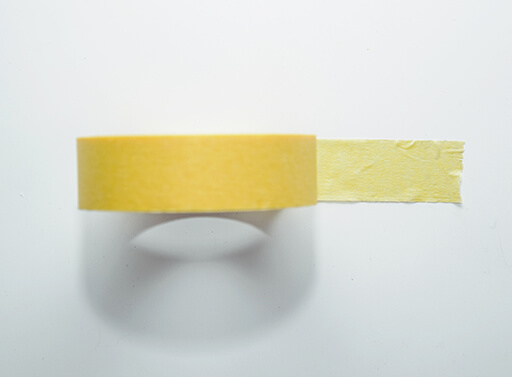
Make a plan.
Grab a roll of painter’s tape or some old cardboard boxes and figure out the area you’d like your new kitchen island to cover. Depending on the layout of your kitchen, this could easily be anywhere from 1-4 metres long!
Are you going to leave room for barstools, or will it be a stand-up work surface only? How much overhang will you want with the counter? Once you have your area planned out, write down all of the measurements.
Build your base.
Unfinished cabinets make a perfect (and easy) base for a DIY kitchen island, so buy as many as it takes to fill the area you want your new kitchen island to cover. This is where you can get creative — choosing a combination of doors, shelves, and drawers that’s exactly what you want.
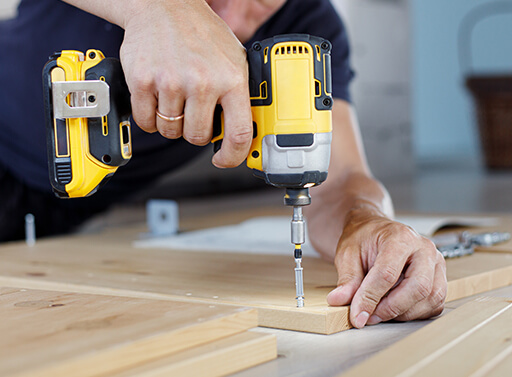
Connect the cabinets.
Screw the cabinets together so they become one solid unit. Don’t worry about how they don’t look cohesive yet — that part will be taken care of next!
Style your island.
Now that your cabinets are connected, you’ll need to cover the backs of the cabinets so they look like one finished piece. You can use plywood, but we suggest something a little nicer — like beadboard panelling or interlocking shiplap.
Be sure to use a heavy-duty construction adhesive, like LePage PL Premium Construction Adhesive, to secure the backing to the backs of the cabinets before screwing it in place. Paint or stain the whole thing, and you can also choose to add (optional) trim pieces or corbels.
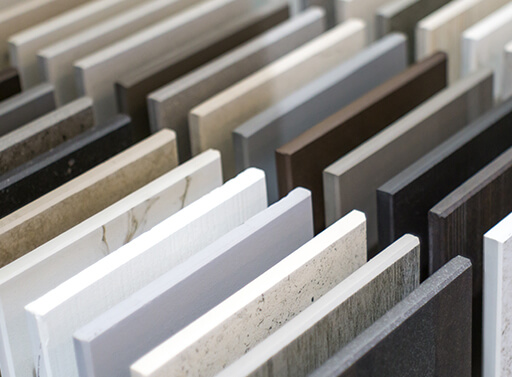
Add a countertop.
The finishing touch for any kitchen island is a countertop. This can be made from just about anything — melamine, stone, or even wood — as long as it’s finished properly to stand up to daily use, including food preparation. Once again, trust LePage PL Premium Construction Adhesive to keep your countertop in place as you attach it.
We hope you enjoy your brand-new DIY kitchen island. If you have any questions about this — or any other project — be sure to come into your local TIMBER MART and we’ll help you along.